Hang Drying Herbs
Drying herbs from a bulk harvest
PROJECT SUPPLIES:
Pruning sheers/sharp scissors
Fresh herbs
Thumb tacks (or a metal hanger)
Twine
Parchment paper
Patience
HANG DRYING HERBS:
Set up your drying space. Hang the twine using the thumb tacks in your chosen space, it can be against a wall or from an arch way. Keep in mind that there may be a few falling leaves so I would recommend a space where the risk of brushing against it or leaves falling on you is low.
Hanging the herbs from the twine swoop saves you from putting too many holes in the wall and is also really pretty! If you do not want to put holes in your home from the thumb tacks, you can also use a wire hanger.
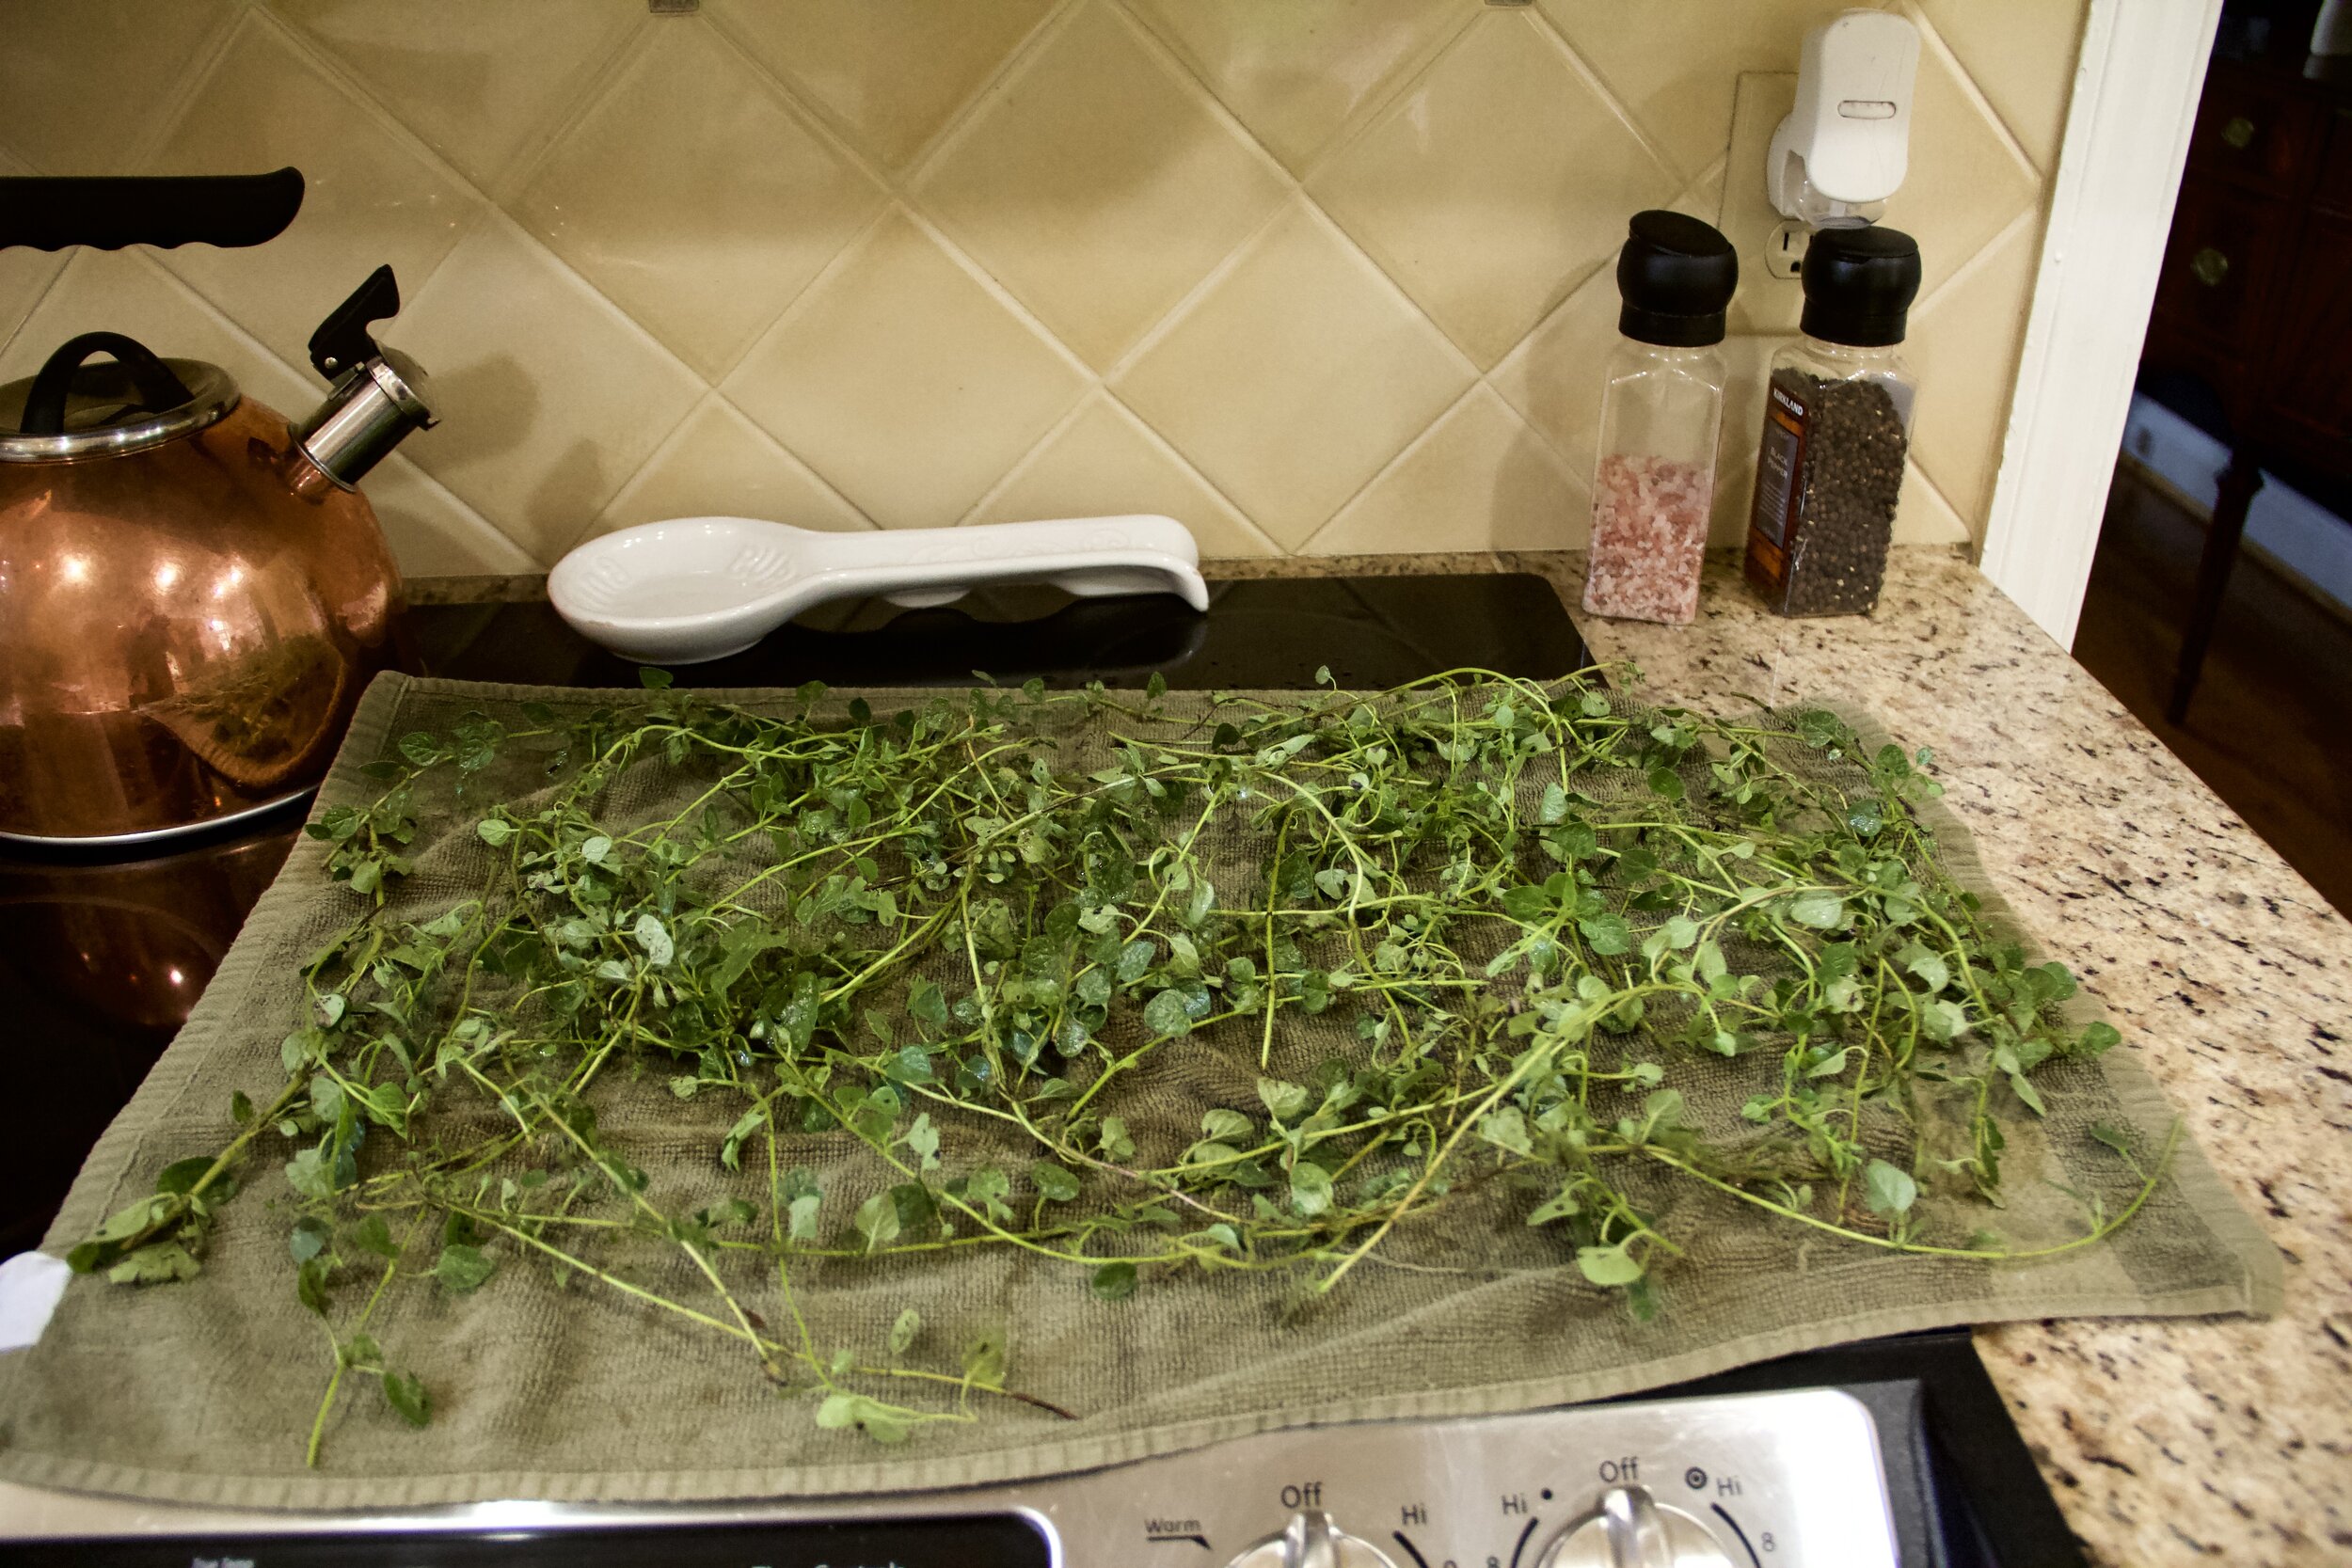
Gather your herbs from your garden. Keep them separate and organized. Shake off any clinging dirt or bugs. You can wash them, but dry throughly as it will increase the hang drying time. I chose to not wash all of mine, only the ones that really needed it.
These photos above show my herbs pre-cutting. My herb garden is not very big and I only gathered about half. This should give a little reference as we continue so you can compare to your own herb gatherings.
My harvest:
Parsley, two different mint varieties, rosemary, Greek oregano, thyme, and basil.
Thyme bath
Before I started preparing my other herbs, I washed the really dirty ones first. After washing, I placed the clean herbs between two kitchen towels and pressed down on them lightly to collect the water. I left them to finish drying as I got to work on the rest.
You will want to keep your herb bunches small, if it is a large bunch it can easily develop mold as it will hold moisture longer. Depending on how many herbs you are drying, you may have many bunches of the same kind.
Trim the stems as needed, working in small batches, wrap the twine around the stems securely so none fall out but not too tight to cause any damage. keep in mind as you wrap that they will hang upside down. Tie a knot around the stems, wrap as many times as desired, you don’t need to wrap it too many times and the knot it off securing your wrapping. Cut the twin leaving a tail with a length of your choosing. The tail is what you will use to attach your hangings to the twine “swoop” you set up. I like to keep the length of the tail uniform and chose to do about 6”.
I set up all of my wrapped bunches before tying them to hang. I liked waiting to see how many I had so I could space them out nicely. Im glad I waited because I had more than I anticipated. Due to this, I tied up one more twine “swoop” so I could hang the herbs in two separate rows.
Optional: wrap your herb bunches in parchment paper or thin packaging paper to keep off bugs and dust. You can do this right away when you are first setting up the bunches for hanging or apply later on when you feel they need it. Or you can opt out all together and let them hang free.
All that is left to do is hang your herbs to dry upside-down from the twine tail you created earlier. Voila! Now time to enjoy your herbs as they dry looking so pretty and smell so amazing.
Here are my herbs after just 24 hours of drying time.
Allow the herbs to dry for at least a week. Once you have hit the week mark you can begin checking their doneness. How quickly they dry depends on the humidity of the space where they are hanging. If they crunch and crumble they are done! Store in airtight containers and enjoy.
Other methods to consider: Oven drying, using a dehydrator (click the link and find my blog article titled “Harvesting, Drying, and Freezing Herbs” about using the dehydrator), or freezing instead of drying.
What is your favorite herb drying method?
*Update: I chose to not put parchment paper around my herbs, but I think I will add it next time. Due to a full schedule, I wasn’t able to take my herbs down for a few weeks. This definitely allowed for full dryness but dust did collect so I would recommend the extra protection of the parchment paper.


